
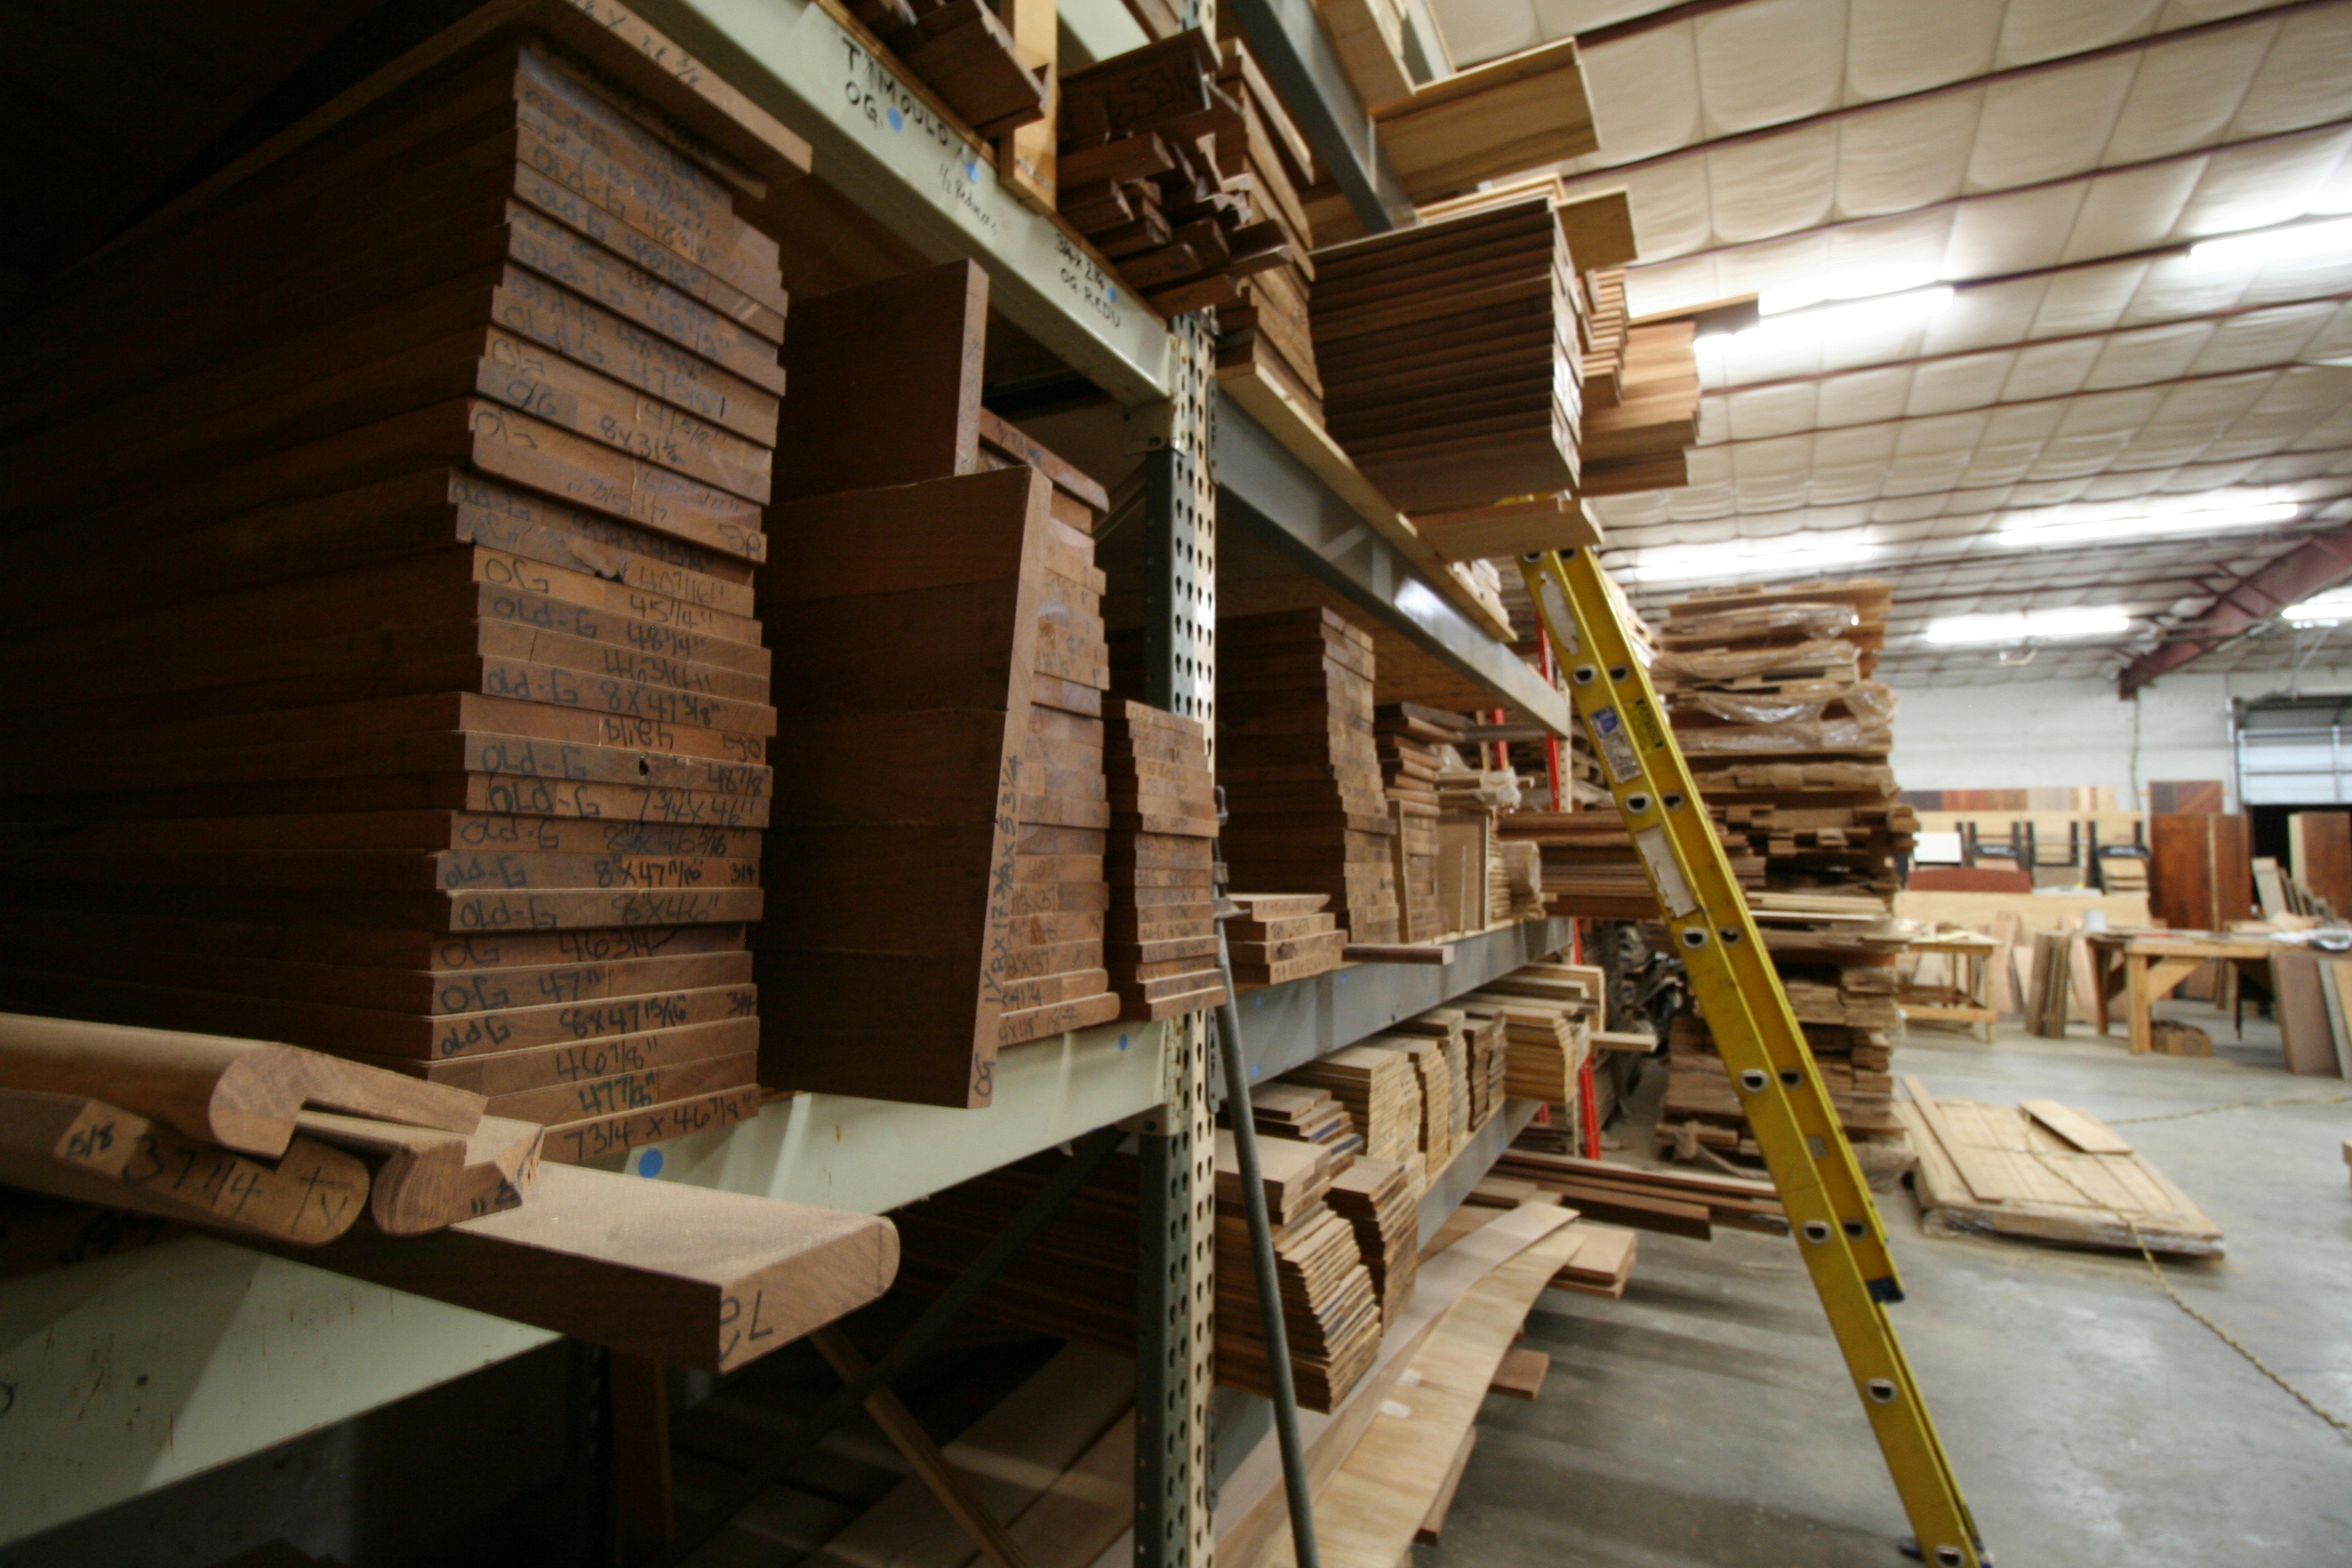
Our Process
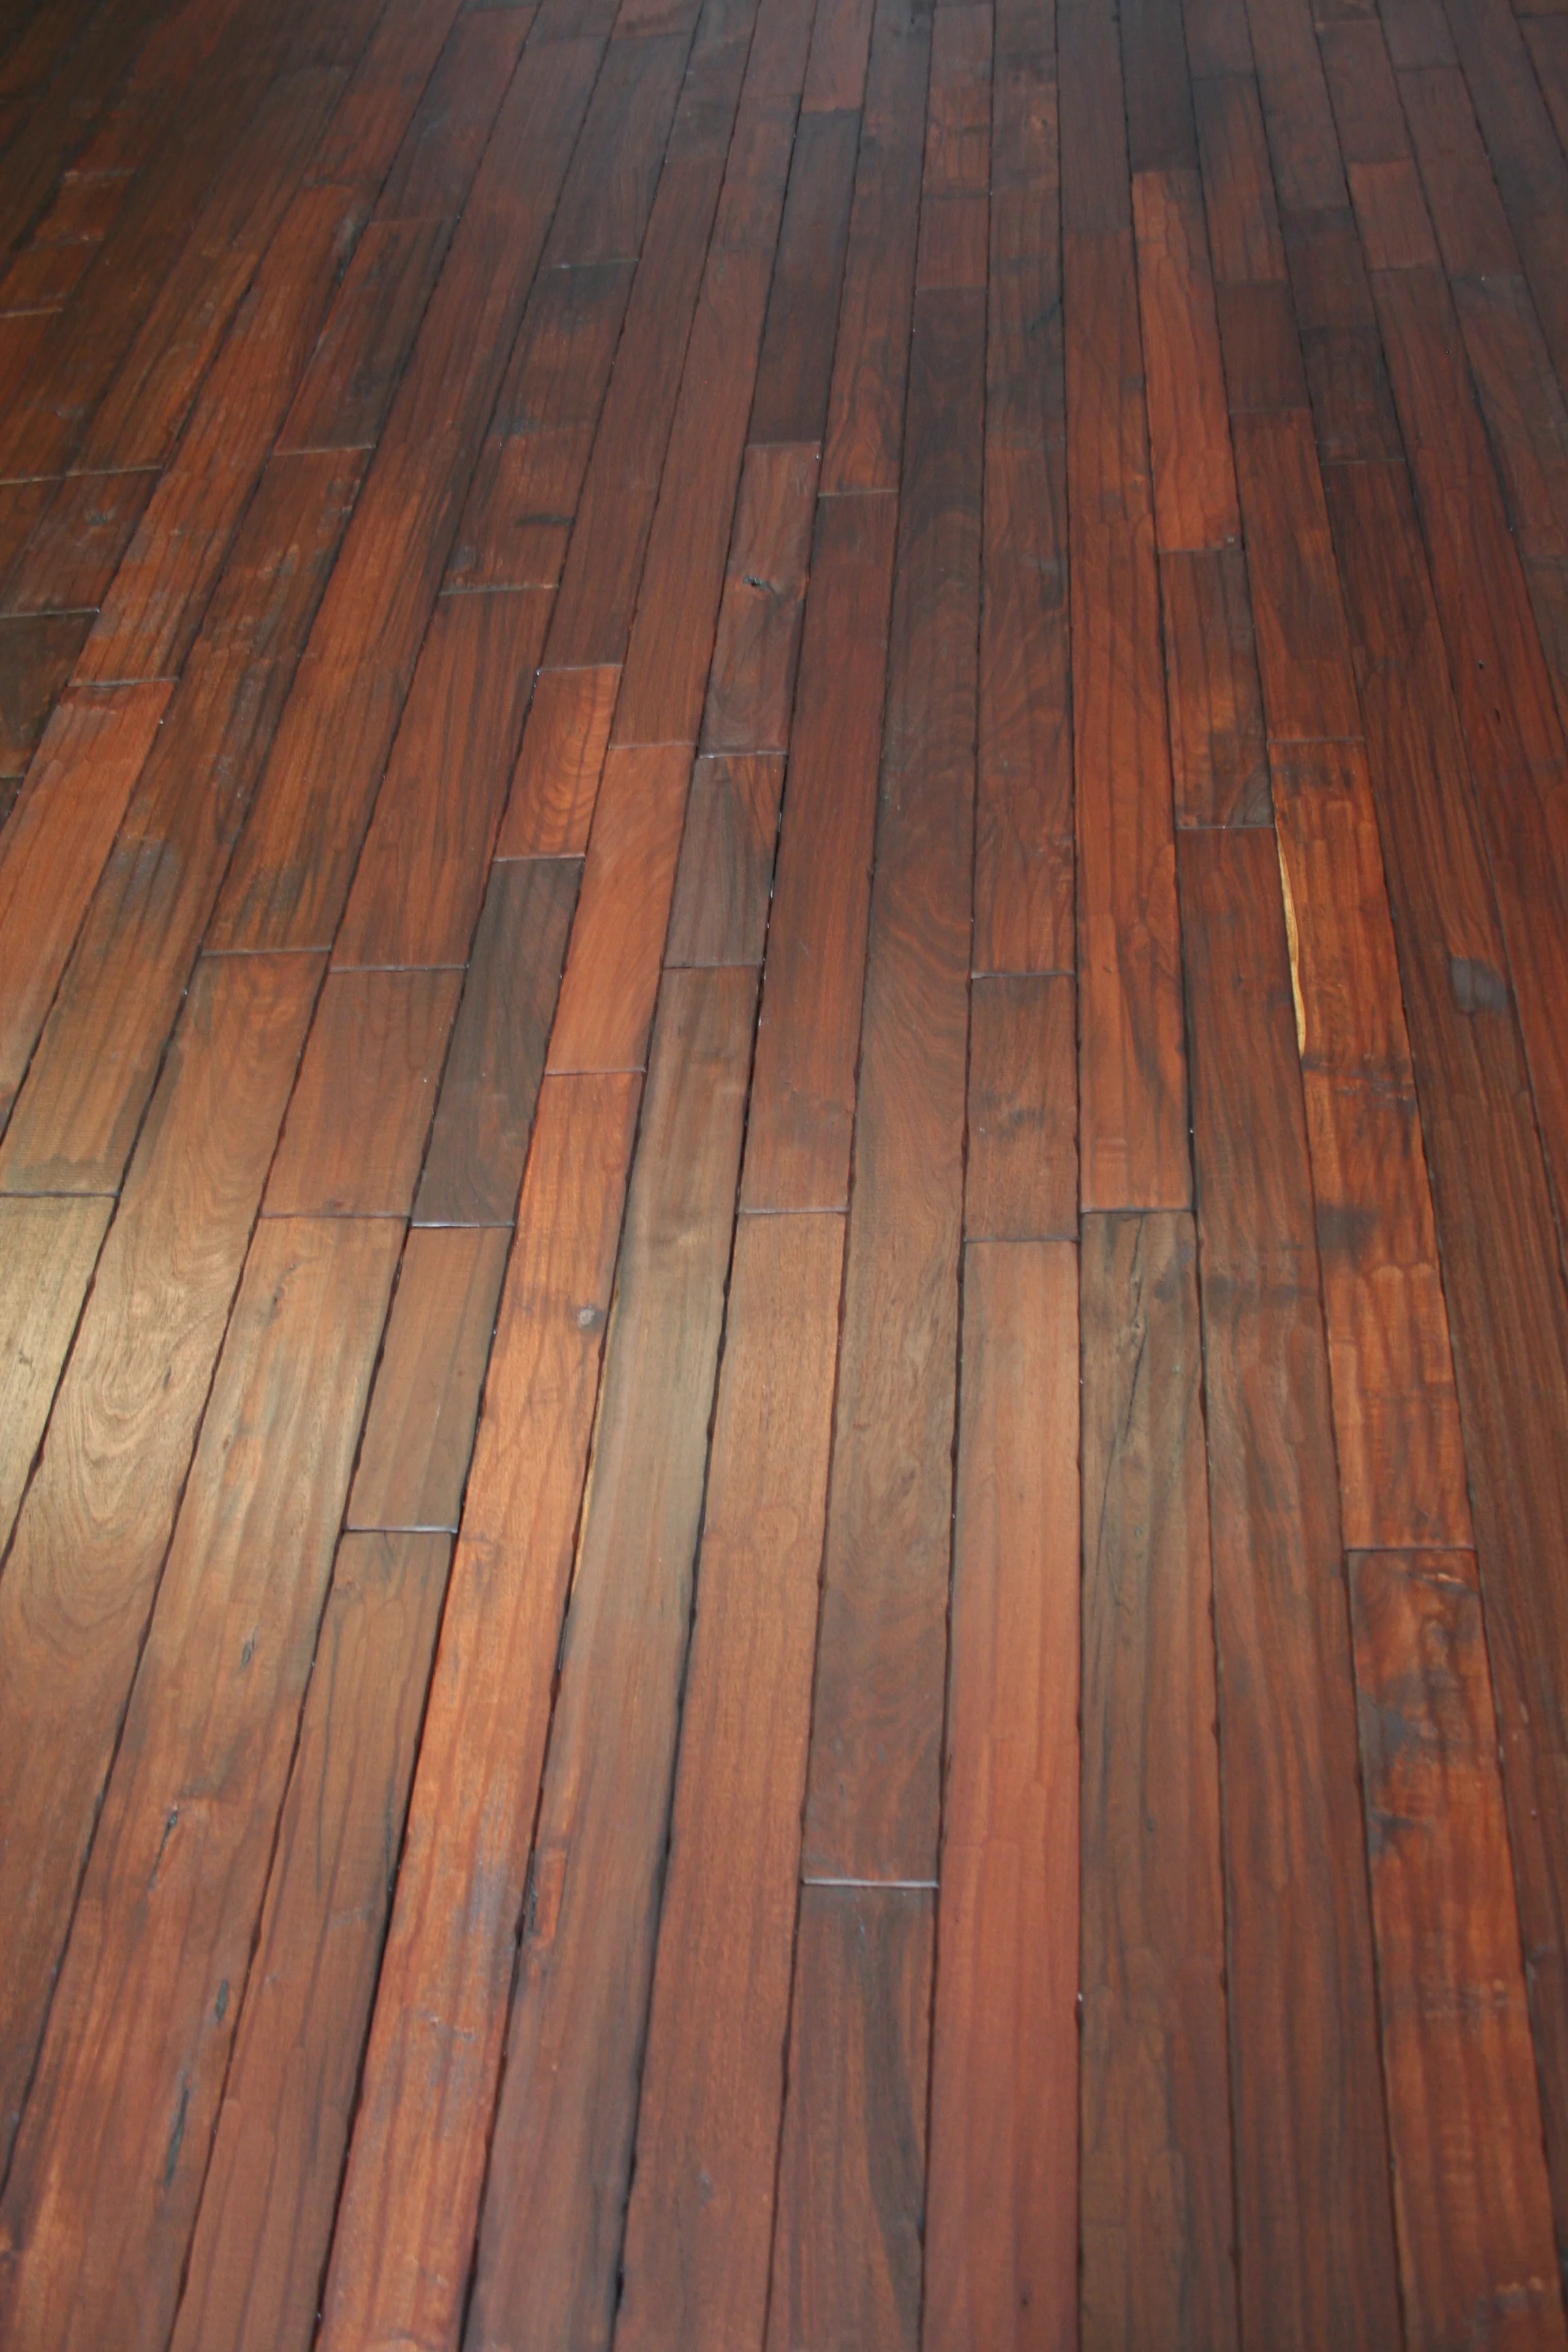
Solid hardwood flooring
Solid hardwood flooring is exactly what the name implies: a solid piece of wood from top to bottom, milled from a single piece of lumber. The thickness of solid wood flooring can vary but generally ranges from ¾” to 1/2”. One of the many benefits of solid wood flooring is that it can be sanded and refinished multiple times. Due to its expansion and contraction, in reaction to changes in moisture and temperature, solid hardwood floors are only recommended for rooms at ground level or above.
3” – 12” widths, up to 15’ long
Includes ALL domestic & exotic grades
Engineered wood flooring
Engineered wood flooring is real wood flooring that is manufactured using multiple layers of different wood veneers. The sub-layers (i.e. underlying plywood veneer core) can be of the same species, or different species. The grain of each layer runs in different (perpendicular) directions, which makes it very stable. This means that the wood will expand and contract less than solid wood flooring during fluctuations in humidity and temperature. The top layer (wear-layer) of engineered wood flooring consists of high-quality wood. This type of flooring can be re-sanded and finished, some engineered floors (depending on construction) can be refinished as many times as solid wood flooring. Engineered floors can be nailed or stapled to a wood sub-floor, or glued down to a wood sub-floor or concrete slab. This makes engineered wood floors ideal for slab and basement installations, but they can be used in any room either above or below grade (ground level).
Our engineered hardwood flooring, with a +4mm wear-layer, is sliced cut from solid hardwood and has the potential to be sanded/re-sanded as many times as the traditional ¾” solid. The underlying plywood substrate of this engineered flooring is Baltic Birch 9-layer plywood.
100% Made in the USA | Green Product
3” – 12” widths, up to 15’ long
Includes ALL domestic grades
Our engineered hardwood flooring, with a top wear-layer of less than 4mm, is also sliced cut of solid hardwood that may be re-sanded. However, it does not carry the same capacity for re-sanding as does our engineered hardwood with a 4mm minimum wear-layer. The underlying plywood substrate of this type of engineered flooring is also Baltic Birch 9-layer plywood.
100% Made in the USA | Green Product
3” – 12” widths, up to 15’ long
Includes ALL domestic grades
Installation
Concrete Sub-floor Nail Down
Moisture test concrete sub-floor. Check moisture content of wood and concrete before installation of wood flooring. Check NWFA (National Wood Flooring Association) guidelines on moisture content for your area of the country.
Float floor flat to 1/8” in an eight (8’) foot radius.
Install ⅝” OR ¾” CDX Plywood with gaps of ¼” at butt edges of plywood, ½” at walls. Lay plywood over 6 mil black polyethylene vapor barrier, lapping seams 6”.
Install 15 lb. felt, rolled over sub-floor, butt edges.
Nail flooring over felt, leaving 1/16” washer run parallel with grain as needed per wood choice. Leave ½” expansion gap at walls. Use Power-nailer Model #45C for ¾” wood OR Power-nailer Model #50C for ½” wood.
Sand using coarse 40-grit, medium 60-grit, fine 100-grit screen. Sand and vibrate edges with 100-grit or 120-grit sand paper. Apply filler to fill cracks between sandings.
Seal floor with floor stain such as Poloplaz. These floor stains are self-sealing and will not reactivate.
Finish floor.
For Wax Finishes:
Apply two (2) coats stain, steel wool between all coats.
Apply wax.
For Polyurethane Finishes:
One (1) coat stain/sealer followed by two (2) coats oil-based polyurethane. Screen between coats of polyurethane.
Water-based Polyurethane: One (1) coat stain/sealer followed by four (3) coats of finish. Screen between coats of finish.
Concrete Sub-floor Glue Down
Moisture test concrete sub-floor with Calcium Chloride test kit. Check moisture content of wood and concrete before installation of wood flooring. Check NWFA (National Wood Flooring Association) guidelines on moisture content for your area of the country.
Float floor flat to 1/8” in an eight (8’) foot radius.
To spread adhesive, use a ¼” x ¼” square-notched trowel. Spread adhesive in a 2’ wide by length of floor at a rate you are accustomed to so that the mastic does not set up too fast. Install planks in adhesive and continue process until entire area is installed.
Roll floor with 50 lb. to 80 lb. roller to make sure adhesive makes good contact with flooring. Do NOT allow traffic for a MINIMUM of eight (8) hours on floor, or as recommended by manufacturer of adhesive.
Let adhesive set up twenty-four (24) hours before starting sanding process, if unfinished.
Sand with 40-grit sandpaper to flatten.
Sand with coarse, medium and fine grit sandpapers. Vibe and screen floor. During drum sanding, fill cracks with Timbermate Wood Filler.
Finish Floor.
For Wax Finishes:
Apply two (2) coats stain, steel wool between all coats.
Apply wax.
For Polyurethane Finishes:
One (1) coat stain/sealer followed by two (2) coats oil-based polyurethane. Screen between coats of polyurethane.
Water-based Polyurethane: One (1) coat stain/sealer followed by four (4) coats of finish. Screen between coats of finish.