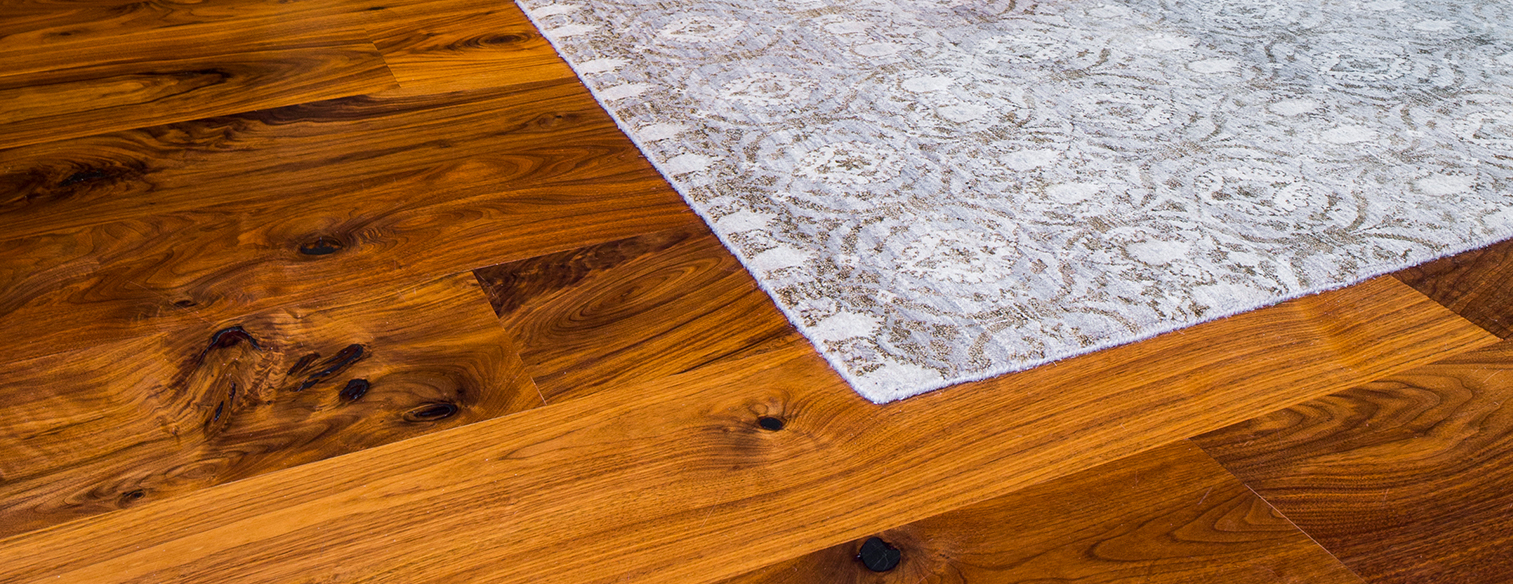
Mesquite Flooring Installation
Installation
Concrete Sub-floor Nail Down
a) Moisture test concrete sub-floor. Check moisture content of wood and concrete before installation of wood flooring. Check NWFA (National Wood Flooring Association) guidelines on moisture content for your area of the country.
b) Float floor flat to ¼” in an eight (8’) foot radius.
c) Install ⅝” OR ¾” CDX Plywood with gaps of ¼” at butt edges of plywood, ½” at walls. Lay plywood over 6 mil black polyethylene vapor barrier, lapping seams 6”.
d) Install 15 lb. felt, rolled over sub-floor, butt edges. Do NOT Overlap.
e) Nail flooring over felt, leaving 1/16” washer run parallel with grain as needed per wood choice. Leave ½” expansion gap at walls. Use Power-nailer Model #45C for ¾” wood OR Power-nailer Model #50C for ½” wood, or a stapler designed for ½” and/or ¾” tongue-and-groove floors. Do NOT use ½” adaptor plate on model 50C. If installer does not use recommended nailer, Ace Hardwood Flooring can NOT guarantee installation quality.
f) Sand using coarse 40-grit, medium 60-grit, fine 100-grit screen. Sand and vibrate edges with 100-grit or 120-grit sand paper. Apply filler (Wood Kote Wood Flour with mesquite sawdust) to fill cracks between sandings.
g) Seal floor with floor stain such as Dura Seal. These floor stains are self-sealing and will not reactivate.
h) Finish floor.
1) For Wax Finishes:
· Apply two (2) coats stain, steel wool between all coats.
· Apply wax.
2) For Polyurethane Finishes:
· One (1) coat stain/sealer followed by two (2) coats oil-based polyurethane. Screen between coats of polyurethane.
· Water-based Polyurethane: One (1) coat stain/sealer followed by four (4) coats of finish. Screen between coats of finish.
Concrete Sub-floor Glue Down
a) Moisture test concrete sub-floor. Check moisture content of wood and concrete before installation of wood flooring. Check NWFA (National Wood Flooring Association) guidelines on moisture content for your area of the country.
b) Float floor flat to ¼” in an eight (8’) foot radius.
c) To spread adhesive, use a ¼” x ¼” square-notched trowel. Spread adhesive in a 2’ wide by length of floor at a rate you are accustomed to so that the mastic does not set up too fast. Install planks in adhesive and continue process until entire area is installed.
d) Roll floor with 50 lb. to 80 lb. roller to make sure adhesive makes good contact with flooring. Do NOT allow traffic for a MINIMUM of eight (8) hours on floor, or as recommended by manufacturer of adhesive.
e) Let adhesive set up twenty-four (24) hours before starting sanding process, if unfinished.
f) Sand with 40-grit sandpaper to flatten.
g) Sand with coarse, medium and fine grit sandpapers. Vibe and screen floor. During drum sanding, fill cracks with Wood Kote Wood Flour mixed with fine mesquite sanding dust.
h) Finish Floor.
1) For Wax Finishes:
· Apply two (2) coats stain, steel wool between all coats.
· Apply wax.
2) For Polyurethane Finishes:
· One (1) coat stain/sealer followed by two (2) coats oil-based polyurethane. Screen between coats of polyurethane.
· Water-based Polyurethane: One (1) coat stain/sealer followed by four (4) coats of finish. Screen between coats of finish.

